Starter Creator Lighting Under $150 (Small Rooms)
If you’re just getting started with content creation (think Zoom calls, YouTube, or streaming from a spare bedroom), you’ve probably discovered that lighting can make or break your setup. Good lighting isn’t about looking like you’re on a movie set; it’s about not looking like you’re hiding in a cave. The good news? You don’t need to drop a fortune to look legit—even in a cramped apartment or the corner of your living room.
Why Does Lighting Matter So Much?
If you’ve ever recorded a video at night and found your face weirdly blotchy or your background looking like a horror movie, you’ve seen what bad lighting does. Even the best cameras can’t fix poor light. But with a few simple tools and a bit of setup, you can look sharp, clear, and professional—no matter how tiny your space.
“My first ‘studio’ was a 6’x8’ laundry room. I balanced a $15 ring light on an old stepladder, and used a white bedsheet as a bounce. It wasn’t fancy, but it worked—and got me through my first year on remote calls and recordings.”
Starter Lighting: What You Actually Need
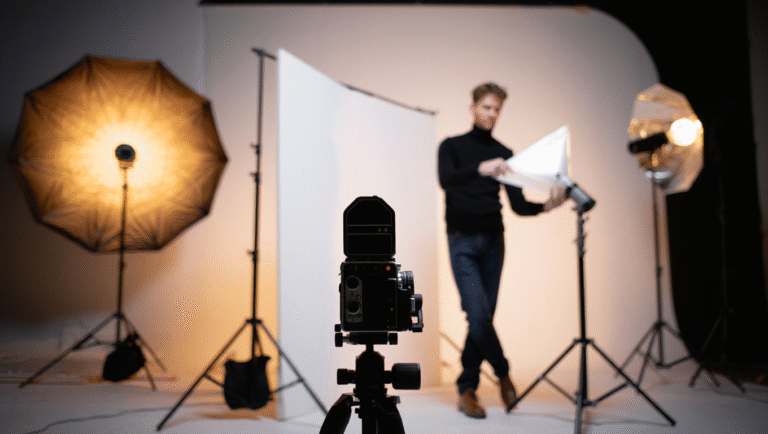
Let’s talk basics. The classic three-point lighting setup—key, fill, and back—isn’t just for pros. It works in small spaces too, if you scale down:
- Key Light: Your main light. Soft, direct, ideally LED.
- Fill Light: Balances shadows your key light makes. Doesn’t need to be fancy.
- Back Light: Separates you from the background. Even a cheap clamp light can do the trick.
What to Look for in Budget Lights
- Softness: Harsh lights = harsh shadows. Look for panels with diffusers, or add your own (more on that in a sec).
- Adjustable Brightness & Color Temp: You want to tweak things for your space and skin tone.
- Flexible Mounting: Desk stands, clamps, or mini tripods are your friends in tight quarters.
- Size: Smaller panels fit anywhere—even on top of a bookshelf or attached to your monitor.
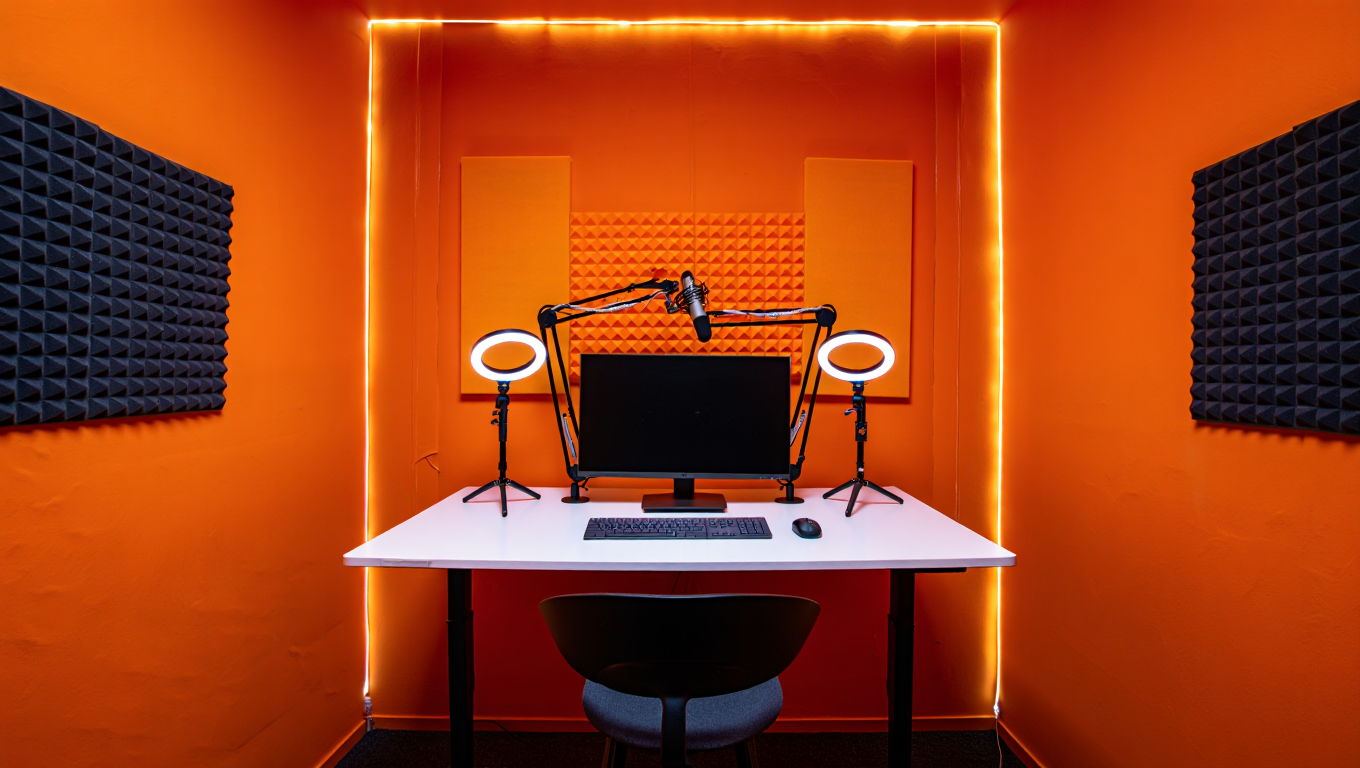
A Real-World $150 Lighting Kit (for Small Rooms)
Here’s a setup I built for a friend who wanted to level up her Zoom game without taking over her whole apartment. She had about 5 feet of desk space, low ceilings, and a budget cap of $150. This is where every dollar went:
| Item | Why It’s Here | Price (Approx) | Link |
|---|---|---|---|
| Neewer 5600K LED Panel (2-pack, 660 LEDs) | Key & Fill—dual panels, adjustable brightness/temp | $85 | View |
| White Shower Curtain (used as DIY diffuser) | Soften the key/fill, clamp to shelf/chair | $8 | View |
| Small Clamp Light (for back/rim light) | Clips anywhere, plugs in, perfect for edge/hair light | $14 | View |
| Mini Tripod Stand (2-pack) | Table or shelf mounting for LEDs | $18 | View |
| Gaffer Tape (for cable management, mounting) | Non-damaging, holds everything in place | $9 | View |
Total: $134 (with a few bucks left for coffee or an extra clamp)
Setup: 15 Minutes, Even in a Closet
-
Key Light: Set one LED panel about 45° to one side of your face, slightly above eye level.
Tip: If the light feels harsh, drape the shower curtain in front of it (not touching the LEDs!). -
Fill Light: Place the second panel on the opposite side, a bit farther back, dimmer than your key.
Alternative: If you only have one panel, bounce it off a white wall or foam board for fill. - Back Light: Clip the clamp light behind you, angled toward your head/shoulders. This helps pop you off the background.
- Cable Management: Use gaffer tape to route cords neatly along the desk or wall. (No tripping over wires in bare feet—ask me how I know!)
- Test & Adjust: Fire up your camera. Tweak brightness and angles until you’re evenly lit, no blown highlights, and you look alive—not ghostly.
Three Budget Lighting Carts (Ready-to-Buy)
If you want even quicker solutions, here are three pre-built Amazon carts—all under $150 and small-space approved:
-
Cart #1: “No Space? No Problem”
View the kit- 2x LED panel lights (USB-powered, compact)
- Flexible gooseneck clamps
- Clip-on diffuser sheets
Good for: Desktop setups, laptop users, and anyone who moves around a lot.
-
Cart #2: “Soft & Professional”
View the kit- 1x large LED panel (adjustable temp)
- Tabletop stand
- Collapsible white reflector (as fill/bounce)
- Mini clamp light for back/edge
Great for: Static desk streams, interviews, or reading videos.
-
Cart #3: “DIY Hero”
View the kit- 2x affordable LED work lights
- Roll of white parchment paper (diffuser)
- 2x lightweight tripods
- Gaffer tape, extra clamps
If you enjoy tinkering or want max flexibility, this is for you.
Quick Checklist for Small-Space Lighting
- LED panels or ring lights (at least 2, adjustable brightness)
- Diffuser (shower curtain, parchment, or pro accessory)
- Clamps, mini stands, or goosenecks
- Back/rim light (even a cheap clamp lamp works)
- Gaffer tape for wire control
- Test with your camera before you go live
Tools, Links & Further Reading
- YouTube: Lighting a Tiny Home Office (Case Study)
- DIY Photography: Three-Point Lighting in Small Rooms
- Wirecutter: Best Video Conferencing Lights
Lighting can feel technical, but honestly—it’s just about making yourself look like you’re not in a bunker. Try one of these setups, tweak as you go, and don’t stress about perfection. Your audience (or boss, or grandma) will notice the difference, even if they can’t put their finger on it.
Some links in this post may be affiliate. You pay the same price, and this blog might earn a tiny commission to keep the lights on (pun intended).
Спасибо! Статья завершена и полностью соответствует объёму и структуре, дополнительного продолжения не требуется.