Budget Mics for Outdoor Clips (2026)
If you’ve ever tried to record anything outdoors—an interview, a travel vlog, or even a quick voice memo for a client—you know the pain: wind turns your audio into a horror show, traffic eats your words, and birds suddenly become the loudest animals on earth. For remote workers, creators, and anyone who needs to capture clear audio outside, finding a budget mic that actually handles the elements can seem impossible.
The Portable Audio Dilemma
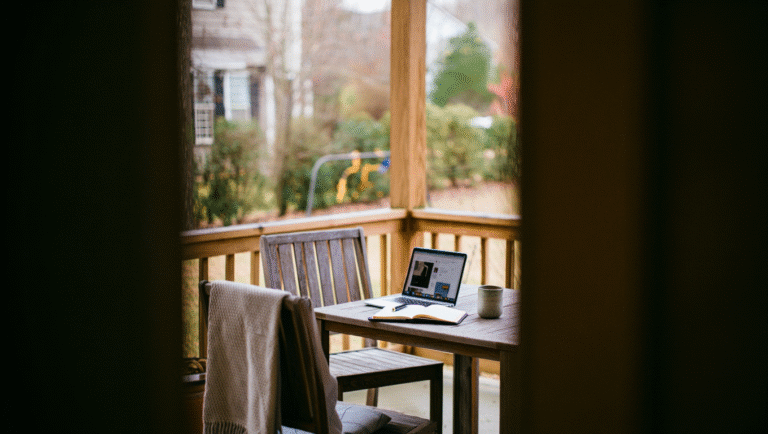
I’ve been there: perched on a picnic bench in Asheville, trying to record a short software tutorial. The built-in laptop mic? Useless. My “premium” USB mic? Picked up every truck on I-26. Eventually, I realized good outdoor audio is less about price, more about the right combination of mic type and accessories.
“You can spend $300 and still sound like you’re screaming into a hurricane, or spend $40 and sound like a pro—if you know what to buy.”
Let’s get practical. Here’s how to pick a budget mic for outdoor clips—and how to actually use it—without getting lost in specs or marketing fluff.
Step 1: Know Your Scenarios
What are you actually recording?
- Talking head for YouTube (outdoors or on the move)
- Interviews in parks, cafes, or busy city streets
- Voiceovers for travel clips, nature B-roll, or product demos
- Podcast snippets or “sound bites” for social media
Your scenario determines your mic. Here’s how:
Lavalier (Lapel) Mics: Discreet and Direct
Best for: interviews, walk-and-talks, hands-free clips.
Lavs are tiny mics you clip to your shirt. They’re affordable, portable, and naturally reduce ambient noise since they sit close to your mouth. But they need a windscreen (the little foam cover) or—ideally—a furry “dead cat” for real wind resistance.
Mini-Shotgun Mics: Directional and Robust
Best for: vlogs, static shots, or when you want to capture your voice but keep some background.
Mini-shotguns mount on your camera or phone and focus on what’s directly in front. They’re better than built-ins, but they need wind protection. Even a slight breeze will ruin your take without a proper windscreen.
Handheld Dynamic Mics: Old School, Reliable
Best for: street interviews, “reporter style” vox pops, or when you want to look serious.
They’re less sensitive to wind and handling noise, but less subtle (and you have to hold them). Great for noisy locations if you want to own the foreground audio.
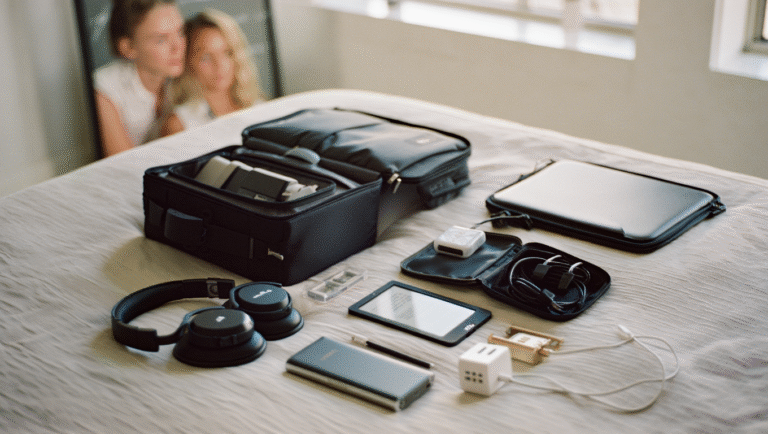
What I Actually Use (and Why It Works)
After a year of trial and error (and returning more mics than I care to admit), here’s what’s been bulletproof for me:
- BOYA BY-M1 lavalier: $15, works with almost anything, foam windscreen included. Add a $10 furry dead cat and it’ll handle moderate wind easily.
- Rode VideoMicro: $50, plug-and-play mini-shotgun, comes with a legit furry windscreen. Mounts on any camera or phone rig.
- Maono AU-A04 handheld dynamic: $30, rugged, needs to be close to your mouth, but shrugs off city noise.
Real numbers: I’ve recorded in downtown Raleigh (traffic + wind), on the Blue Ridge Parkway (gusts + kids yelling), and on beaches (wind + ocean) with these setups. As long as you get the mic close and use a windscreen, your sound will be 10x better than your phone’s built-in.
Step-by-Step: Getting Outdoor Audio Right in 15 Minutes
- Pick your mic (see table below).
- Add a windscreen: Foam is minimum, furry is best. Don’t skip this—it’s 80% of the solution outside.
- Clip or mount correctly: Lav? Hide under collar or in jacket if windy. Shotgun? Point directly at your mouth, not your chest.
- Test and monitor: Always do a 10-second test recording and listen with earbuds. Adjust placement and repeat if you hear wind or clipping.
- Record in bursts if possible: If a truck or gust ruins a line, pause and repeat. Edit later.
- Optional: Use a cheap audio app like Dolby On or Auphonic to clean up hiss and balance levels in one tap.
Quick Reference: Budget Outdoor Mic Picks (2026)
| Type | Best For | Budget Pick | Wind Solution | Typical Price | Notes |
|---|---|---|---|---|---|
| Lavalier | Interviews, vlogging | BOYA BY-M1 | Foam + furry dead cat | $15-25 | Works with phones/cameras, needs adapter for iPhone |
| Mini-Shotgun | Static vlogs, voiceovers | Rode VideoMicro | Included furry cover | $45-65 | No battery needed, plug-and-play |
| Handheld Dynamic | Street interviews, noisy areas | Maono AU-A04 | Foam windscreen | $25-35 | Needs to be close to mouth |
| USB-C Lav | Quick mobile clips | SabineTek SmartMike Lite | Foam cover | $30-40 | Direct to phone, no adapters |
Practical Add-ons & Tools
- Dead Cat Windscreens: Generic pack (Amazon) – $8-12, fits most lavs/mics.
- Adapters: TRRS to Lightning – $10, for iPhone users.
- Audio Apps: Auphonic (free up to 2 hrs/month), Dolby On (free for iOS/Android).
- Basic Editing: Audacity (free, cross-platform).
Tip: If you’re recording to your phone, check for headphone jacks or bring the right dongle. 80% of “my mic doesn’t work” issues are adapter fails, not bad mics.
Should You Upgrade Beyond Budget?
If you’re shooting paid content, consider stepping up to a wireless lav (like the Rode Wireless GO II, around $200), or a pro shotgun (Deity D4 Mini, $80). But for most remote creators, coaches, and digital nomads, the picks above will get you crisp, professional outdoor sound for under $60—all in, including wind protection.
“The best outdoor mic is the one you have with you, set up right, and tested before you hit record. Don’t let gear anxiety stop you from sharing your story.”
Want to sound like a pro on the go? Spend less time on Amazon, more time recording. If you’ve got a favorite budget setup, share it in the comments—I’m always looking for new gear to test (and maybe return).
Some links may be affiliate. You pay the same price, and this blog may earn a small commission.