Studio Lighting for Blogging (2025)
Let’s be honest: if you’re blogging (or vlogging) from home, your lighting setup is probably a mix of sunlight, ceiling lamps, and maybe whatever ring light TikTok recommended last year. I’ve been there—more times than I care to admit. But crisp, pro-looking photos and videos don’t have to mean dropping $500 on gear or turning your living room into a film studio. In 2025, Amazon’s got more options than ever, and you can seriously up your content game without maxing out your card.
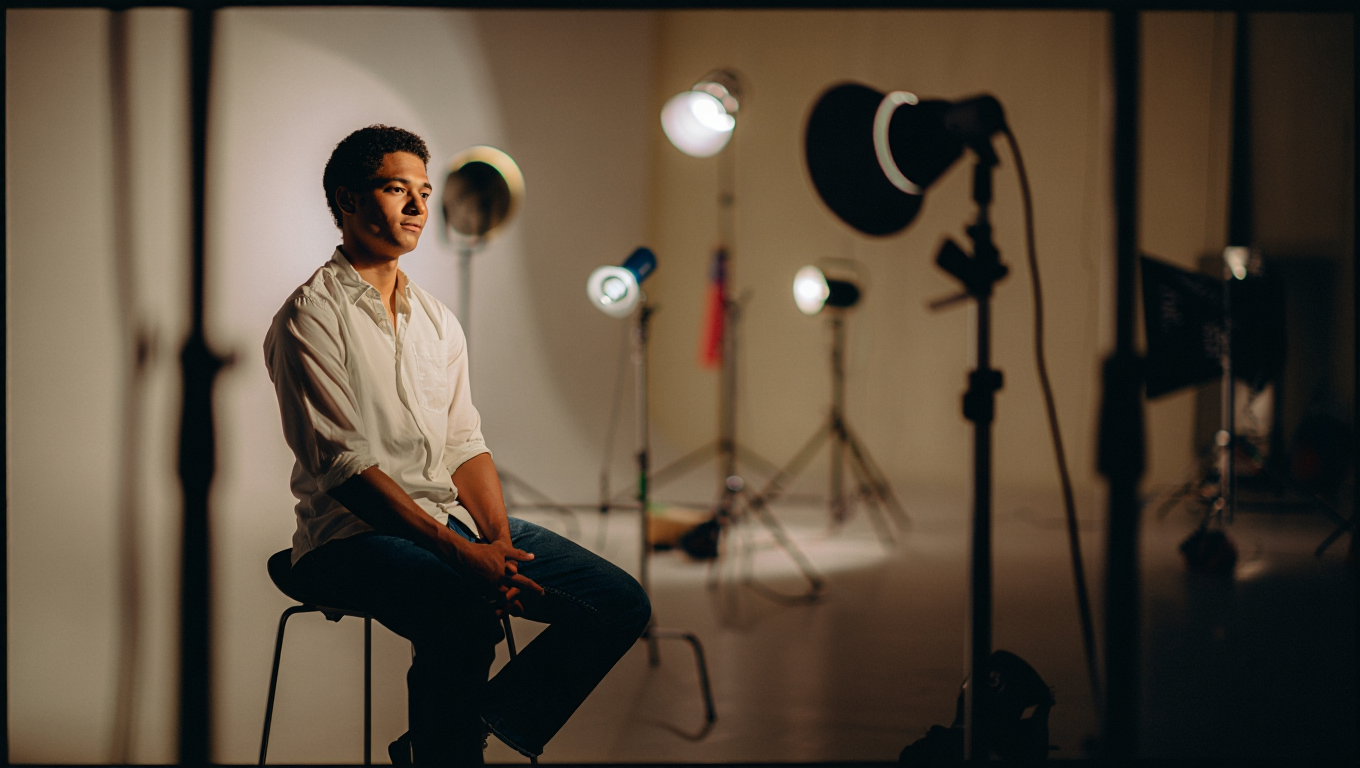
What Makes Good Studio Lighting for Blogging?
Before we dive into the gear, let’s break down what actually matters:
- Key Light: Your main source. This is what shapes how you look on camera.
- Fill Light: Softens shadows. Makes you look less like you’re telling ghost stories.
- Back Light (Hair/Rim): Adds separation from the background. Suddenly, you look 10x more pro.
Within each, you’ll see two main types:
- Softboxes: Classic, diffused, flattering. Slightly bulky, but worth it for portraits and talking head videos.
- LED Panels: Compact, adjustable, easy to use. Great for flexibility or small rooms.
Don’t sweat the jargon. If you know the basics—CRI (Color Rendering Index, 90+ is good), color temperature (5000K is daylight, 3200K is warm), and brightness (measured in lumens)—you’re already ahead of most beginners.
Real-World Example: My First “Studio” (aka, the Guest Room)
When we started traveling, my “studio” was wherever I could plug in my laptop. At one Airbnb in Asheville, the only spot with decent acoustic was right next to a window—direct sun in the morning, pitch dark by 4PM. My solution? A $40 LED panel from Amazon, a sheet of wax paper, and a pile of books for a stand. Was it perfect? No. Did it work? Absolutely. And that’s what gave me the confidence to start upgrading piece by piece.
Best Amazon Studio Lighting Picks by Budget & Room Size (2025)
I’ve broken this down into three budgets and two typical room sizes. All products are beginner-friendly and available on Amazon US (as of June 2025). If you’re outside the US, most of these brands are global—just search your local Amazon.
Small Room (Bedroom, Office, 8-12 ft wide)
| Budget | Key Light | Fill/Back | Notes |
|---|---|---|---|
| Under $70 | Neewer 660 LED Panel ($49) | DIY: Use a desk lamp + tracing paper | Compact, adjustable temp, packs flat |
| $70–150 | GVM 800D-RGB Panel ($119) | Neewer 5600K Ring Light ($35) | RGB effects, remote control |
| $150–300 | Godox SL-60W + Softbox Kit ($189) | Neewer 2-Pack 10” Panels ($59) | Pro-level, high CRI, super soft |
Medium/Large Room (Living Room, Studio, 12-20 ft+ wide)
| Budget | Key Light | Fill/Back | Notes |
|---|---|---|---|
| Under $100 | Mountdog Softbox Kit ($69, 2-pack) | Use one as fill, bounce off wall for backlight | Bulky but soft, bulbs included |
| $100–200 | Godox SL-60W + Large Softbox ($189) | Neewer 660 Panel ($49) or GVM 800D-RGB ($119) | Flexible setup, pro look |
| $200–400 | Aputure Amaran 100d ($299) | Neewer Softbox Kit ($79) or GVM RGB Panel ($119) | Top-tier color fidelity, near-silent fan |
How to Set Up Your Home Studio in 15 Minutes
- Pick your “stage”: Choose a spot with some natural light if possible. Face the window for daytime, supplement with your key light for consistency.
- Set up your key light: Place it at a 45-degree angle from where you’ll sit or stand. If you have a softbox, elevate it slightly above eye level.
- Add fill: On the opposite side, use a smaller LED panel or even a white foam board to bounce light back onto your face.
- Back/rim light: Place a low-powered light behind you, aimed at your hair or shoulders. This adds depth and keeps you from blending into the background.
- Adjust color temperature: Match your lights—either all “daylight” (5000–5600K) or all “warm” (3200K). Mixed lighting makes skin tones look weird.
- Test and tweak: Use your phone or webcam to check shadows and brightness. Make small adjustments until you look natural and clear. Don’t chase perfection—aim for “looks good on Zoom and YouTube.”
Quick Reference: Studio Lighting Checklist
- Key light (softbox or LED panel, 90+ CRI, 50–100W or 2000+ lumens)
- Fill light (small LED or ring light, same color temp as key)
- Back/rim light (optional, but great for depth)
- Extension cords and surge protector
- Light stands or sturdy tripods
- Diffusers (included softbox, or DIY with white fabric/paper)
- Remote/phone app for wireless control (if available)
Tools & Resources
- Amazon Softbox Kits
- Amazon LED Panels
- Cinecom’s Lighting Tutorials (free and practical)
- DPReview: Color Temperature Explained
Pro tip: For under $10, grab a pack of diffusion gels and a roll of gaffer tape—instantly makes cheap lights look premium.
Final Thoughts from the Road
If you’re just getting started, don’t stress about copying YouTube studios or Instagram pros. The most important thing is consistent, soft, even light on your face. Everything else—color, background, fancy RGB—comes later. I’ve shot sponsored videos in rental kitchens, hotel rooms, and even a van. The right lighting makes you look prepared even when you’re absolutely winging it.
Try different setups, experiment, and don’t overthink. The best gear is the one you’ll actually use. And if you’ve got a funny lighting fail story, send it my way—I’ve probably outdone you.
Some links above may be affiliate. It costs you nothing extra, but helps keep this blog caffeinated and ad-free. Thanks for your support!