Budget Lighting Makeovers Under $150
Let’s be honest: most of us don’t think about lighting until we’re on a video call and realize we look like a character in a witness protection interview. I’ve learned (often the hard way) that lighting can completely change not just how your space feels, but how you appear on camera—and how your photos turn out. And you don’t need to drop hundreds to fix it. Over the past couple of years, I’ve tweaked the lighting in every room I’ve worked from, all on a budget. Here’s my hands-on, room-by-room guide to glow-ups under $150, including the exact products that worked for me—right down to the LED bulbs.
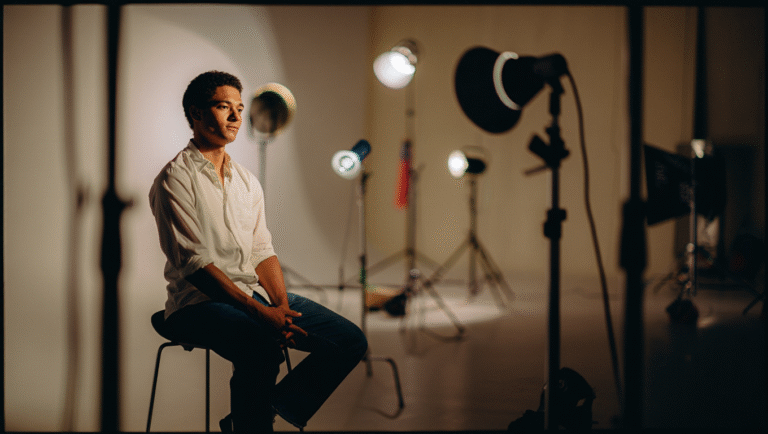
Why Lighting Matters (Yes, Even If You’re Not an Instagram Influencer)
We spend hours every week on video calls—clients, team meetings, even catching up with friends. Bad lighting can make you look tired, grainy, or just… off. On the flip side, a few simple changes can:
- Make you look more awake (even if you’re not)
- Reduce eye strain during long work sessions
- Show off your space—because let’s be real, we’ve all judged a messy background
- Make photos look 10x better for listings, social media, or just family albums
“I used to think my webcam was the problem. Turns out, it was just my 40W yellow bulb from 2010 making me look like I lived in a submarine.”
Mini Makeovers by Room (That Won’t Break the Bank)
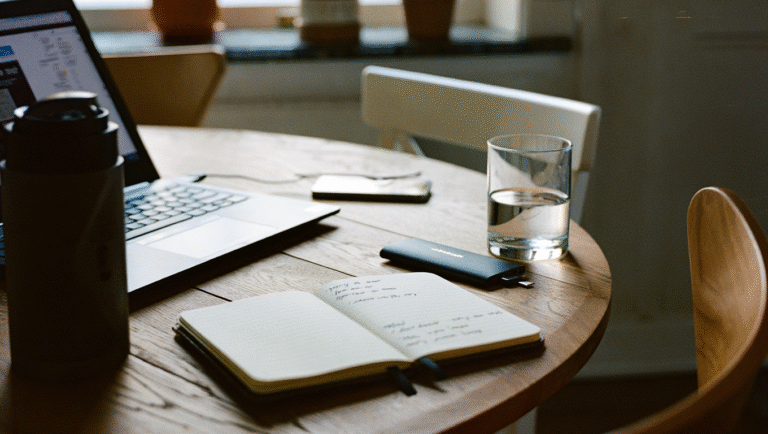
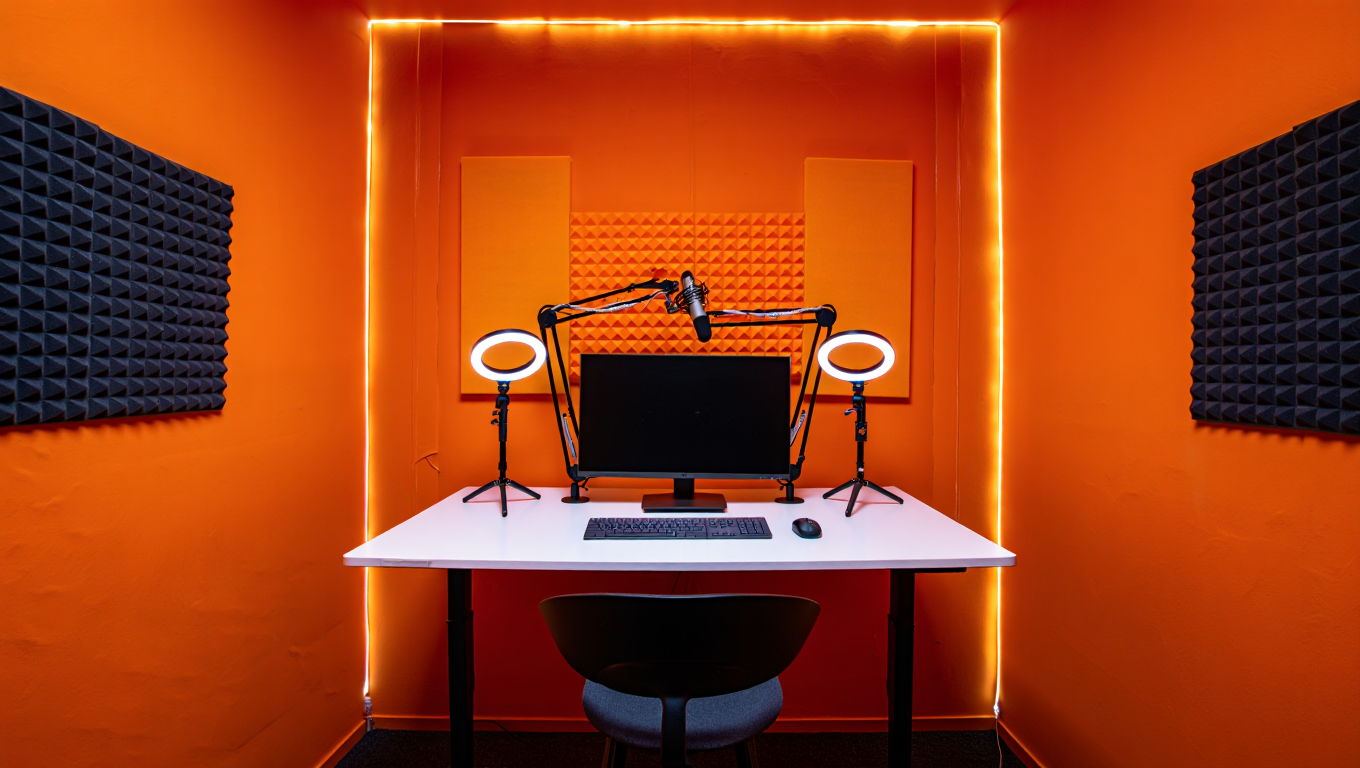
1. Home Office/Desk Area
Goal: Bright, even light on your face with no harsh shadows. Bonus: zero eye strain after hours of meetings.
What I Did:
- Swapped overhead bulbs for daylight-balanced LEDs (5000K-6500K, around 800 lumens). Cost: $12 for a 2-pack.
- Added a clamp ring light ($23, dimmable) to the side of my monitor, angled slightly above eye level.
- Placed a cheap white foam board ($9) on my desk to bounce light from below—no more “monster shadows.”
- Stuck a mini smart bulb in a desk lamp ($22, color-tunable) for late-night work or warm ambient light.
Result: My face looks natural on calls, and I don’t get headaches from squinting. No more apologizing for “bad lighting.”
2. Living Room
Goal: Soft, flattering light for group calls, reading, and photos—without making the room feel like an operating theater.
What Worked:
- Replaced lampshades with translucent white or linen (from $19 on Amazon) for better diffusion.
- Used 2-3 LED bulbs in the 2700K-3000K (warm white) range, dimmable if possible ($14 for a 4-pack).
- Placed one lamp in a corner, another near the sofa to create layers and avoid harsh overhead glare.
- DIY reflector: I taped aluminum foil inside a cheap folder and propped it behind a lamp for instant “bounce.”
Pro tip: If you have a dark wall, angle a lamp towards it. The reflected light softens the whole vibe—great for evening calls or cozy photos.
3. Bedroom
Goal: Relaxed, warm light for winding down (but still decent if you’re logging on for a late call).
- Swapped harsh bulbs for smart bulbs set to 2200K-2700K ($15, color-changing optional).
- Added a fabric shade I found on Amazon for $17, which makes even cheap bulbs look high-end.
- Small table lamp on each nightstand for symmetry (and no more fighting over who gets the “good” lamp).
“After swapping bulbs and shades, my bedroom went from ‘hospital waiting room’ to ‘Pinterest board.’ Bonus: I actually look human when answering late-night Slack pings.”
4. Kitchen/Dining Area
Goal: Crisp, natural light for food photos (or just seeing what you’re chopping).
- Swapped overheads for high-CRI daylight bulbs ($18 for 4, 5000K, CRI 90+). CRI means colors are accurate—not weirdly blue or yellow.
- Stuck cheap LED strips ($27) under cabinets for shadow-free counters—game changer for video calls during breakfast prep.
- Used a clip-on spotlight ($11) for taking photos of food or projects. Just point, shoot, and eat.
Real talk: Under-cabinet lighting took my kitchen from “dungeon” to “food blog demo kitchen.”
Lighting Fixes: Step-by-Step (15 Minutes Per Room)
- Assess your space: Turn on your camera or take a phone pic. Where are the shadows? Is the color flattering?
- Pick your main light source: Overhead, lamp, or window. Decide what needs changing—bulb, shade, or both?
- Swap in new bulbs: Stick to LEDs, pick the right color temp (see table below).
- Add a reflector or bounce: White foam board, poster, or even a pillowcase can bounce light onto your face.
- Fine-tune placement: Move lamps or ring lights until your camera test looks natural, not “crime documentary.”
- Optional: Add smart bulbs or dimmers for flexibility (especially if you use the space day and night).
Quick Reference Table: Bulbs, Placement, and Budget
| Room | Bulb Type | Color Temp | Extras | Approx. Cost |
|---|---|---|---|---|
| Office | LED, Ring Light | 5000-6500K | Foam board, Smart bulb | $65 |
| Living Room | LED | 2700-3000K | New shade, DIY reflector | $40 |
| Bedroom | Smart LED | 2200-2700K | Fabric shade, Table lamp | $32 |
| Kitchen | High-CRI LED | 5000K | LED Strip, Clip-on Light | $56 |
Amazon List: My Go-To Lighting Upgrades
- Daylight LED Bulbs (5000K, 2-Pack)
- Clamp Dimmable Ring Light
- Smart Color-Changing Bulb
- Translucent Lamp Shade
- High-CRI Kitchen Bulbs
- LED Under Cabinet Strip
- Clip-on Spotlight
- White Foam Board (for bounce)
Other Handy Tools (Not Just for Lighting)
Final Thoughts (or: How I Learned to Stop Worrying and Love the Light)
I used to think “good lighting” was for YouTubers and architects. Turns out, it’s for anyone who doesn’t want to look like a crypt keeper on calls—or just wants their rooms to feel a little more welcoming. You can fix 90% of the problems in under 15 minutes per room, for less than the price of a fancy dinner out. And if you ever see me on Zoom looking suspiciously well-lit, now you know my secrets.
Some links may be affiliate. You pay the same price, and this blog may earn a small commission.